The route up Queen Mountain is fairly easy to follow, but a map and compass are must-haves for this hike. It’s easy to get turned around, which can quickly lead to becoming lost - make sure you’re prepared with the proper equipment and experience before attempting this hike.
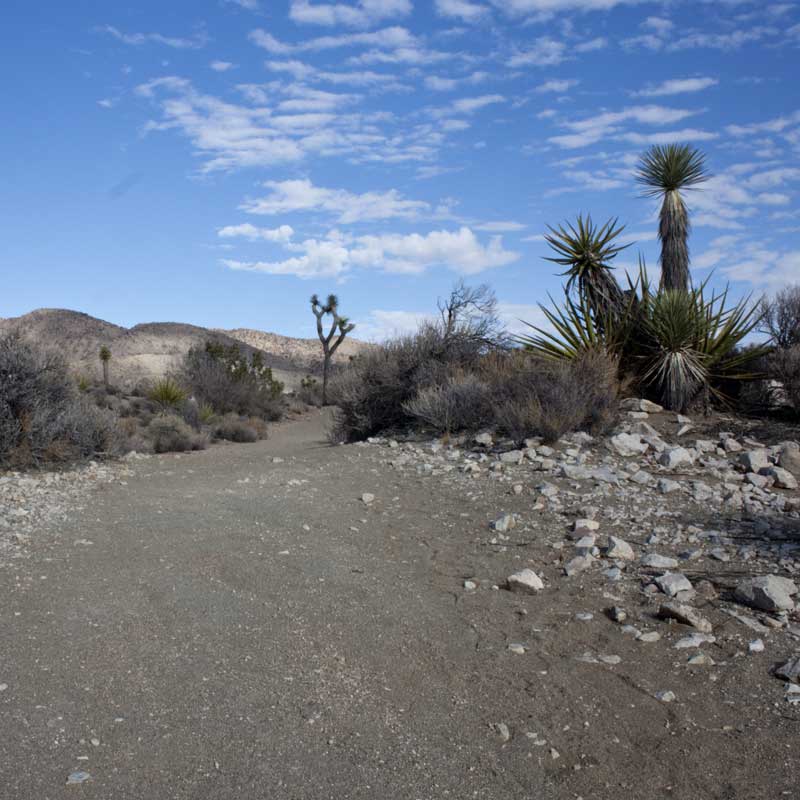
From the trailhead, walk north following a social trail for 0.3 miles as it winds to the crest of a small hill. Continue northeast for another 0.4 miles to the flank of the mountain.
At this point, the trail begins to slowly fade. Look for cairns as you steadily climb 600 feet over the next 0.6 miles, eventually leveling out on a small plateau.

The steady ascent up the southern flank of Queen Mountain
This is where the trail disappears and route finding skills are put to the test. Queen Mountain has two peaks of similar height. The route follows a light colored gully in between these two summits to a saddle. From the plateau you’re at, the gully is visible a short distance to the northeast.

Approaching the gully from the small plateau
Follow the path of least resistance to ascend 200 feet up the gully to a saddle between the two peaks. Multiple social trails and cairns provide an array of possible paths.
The eastern peak is the true summit of Queen Mountain. Wrap around the northern side of the peak for a walk-up approach, or scramble directly towards the summit for a more challenging option.

The saddle between Queen Mountain's two peaks
The views from the top of Queen Mountain are some of the best in the park. Look for the Wonderland of Rocks and Mount San Gorgonio to the west, Twentynine Palms to the north, Ryan Mountain and San Jacinto Peak to the southwest, the Pine City area to the east, and Pinto Basin to the southeast. A summit register is located under a large flat rock near a wire cactus.

A wire cactus marks the summit of Queen Mountain

Panorama of the Wonderland of Rocks from the summit
There are two options to descend -- either retrace your steps, or create a loop hike by following the gully south as it drops 1000 feet in 0.8 miles to a wash. Loose sand and rock make it a slippery descent, so move carefully and take your time with either option.

Descend the gully to the bottom to make it a loop hike
Follow the wash as it winds southwest for 0.7, passing a small, dry fall along the way.

Dryfall on the loop hike option
Exit the wash near the small hill that’s close to the trailhead. San Jacinto Peak is a good landmark to head towards as you cross country travel another 0.4 miles to the parking lot. If you overshoot the turn, continue down the wash until it intersects with the road. From there, turn north and you’ll quickly find your way back to the trailhead.

Use San Jacinto Mountain to guide you back to the trailhead